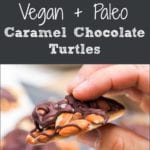
Vegan caramel chocolate turtles – a simplified 15 minute healthier version of caramel chocolate turtles made with only five ingredients. Gluten Free and Refined Sugar Free. 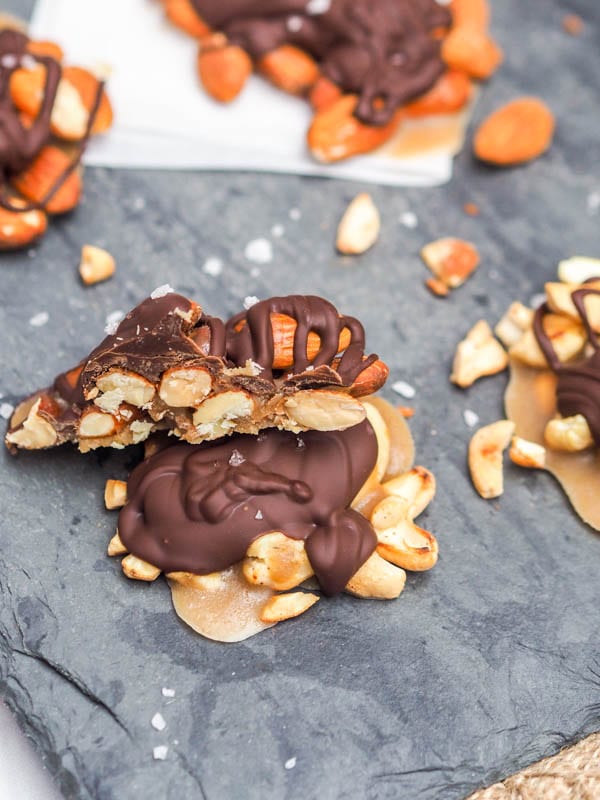 Vegan caramel chocolate turtles that are gluten-free and also sugar free! Stop everything you’re doing in life and make these immediately.
This might just be the best recipe I have ever created. In almost 6 years of blogging, and hundreds of recipes, it all comes down to one.
Chocolate turtles. With a vegan caramel sauce. And only five ingredients. And 5-15 minutes on hands on times.
For the best dessert you’ll ever have.
I’m not even exaggerating. This to me, is the best dessert I’ve ever made. Especially when you factor in the complexity of the recipe (super easy), the time required (barely any) and the list of ingredients needed (little to none), this blows every other dessert out of the water.
I mean sure if you want cheesecake you can make a vegan pumpkin cheesecake, or if you want brownies there are fudgy vegan protein brownies, but for me these chocolate turtles are the dessert that beats them all.
This recipe starts with nuts. Feel free to use your nuts of choice. Almonds, pecans, cashews, all work. I have to save pecans are the best in this recipe followed by almonds and then cashews. You want a solid hearty nut here. The cashews are a bit too soft of a nut in this recipe for me, the almonds and pecans being firmer nuts hold up better if you ask me.
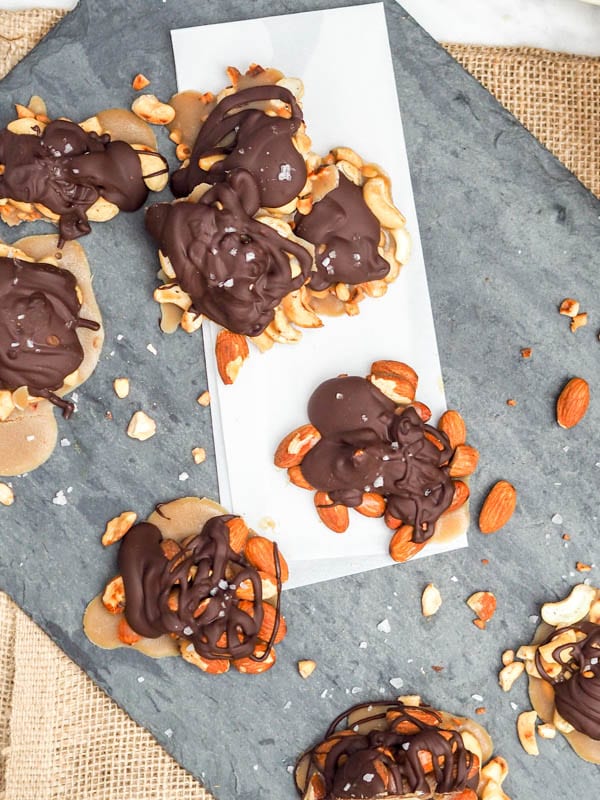
You just need to scatter the nuts in little clusters on a parchment lined baking sheet.
Then you’re ready for the vegan caramel sauce.
The vegan caramel is a combo of maple syrup, coconut oil and sunflower seed butter. Yep, I said it, sunflower seed butter. I didn’t even know such a thing existed. I mean nut butters sure, but sunflower seed butter – that’s a new one for me.
And I love it, it gives this caramel sauce that perfect element of intrigue. The maple syrup and coconut oil need to be heated in a pot, and then the sunflower seed butter is added.
Let that boil for 1-2 minutes, stirring it while you go, and that’s it. That’s all it takes for a vegan caramel sauce.
Amazing right? Now butter or cream needed. I am sure this would work with an almond or cashew butter too, so feel free to use those instead if you do not have sunflower seed butter.
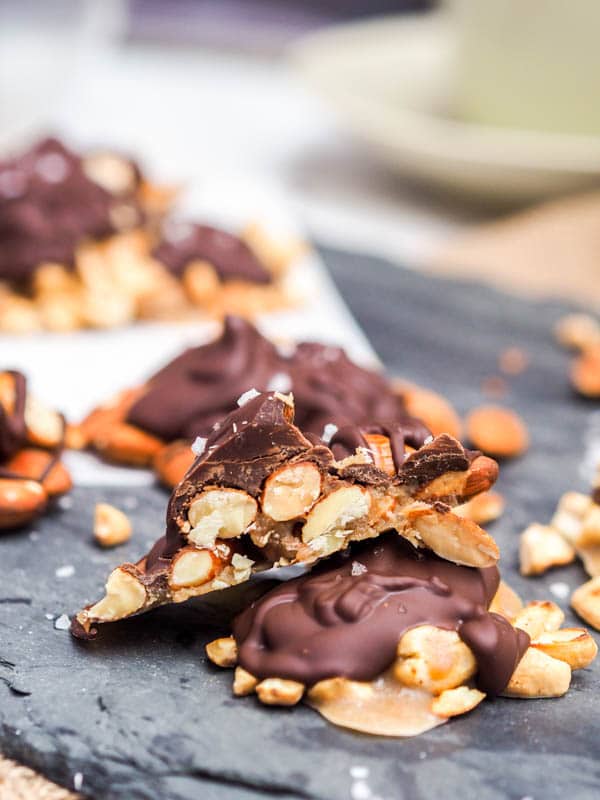
Pour the caramel sauce onto the clusters of nuts, covering them so they stick nicely together. Let those two hang out in the freezer for a bit 5-10 minutes, or longer if you want the caramel a bit more solidified.
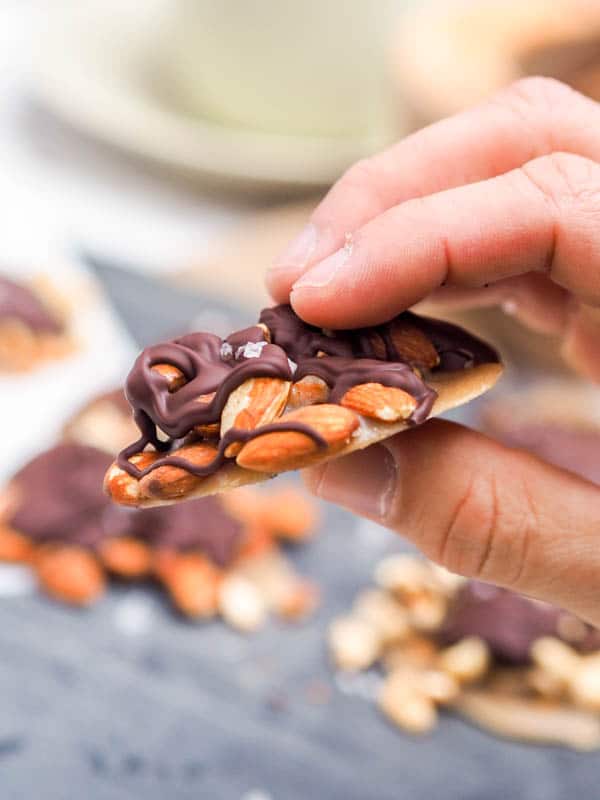
Then just melt the chocolate chips in the microwave and drizzle over the caramel nut clusters.
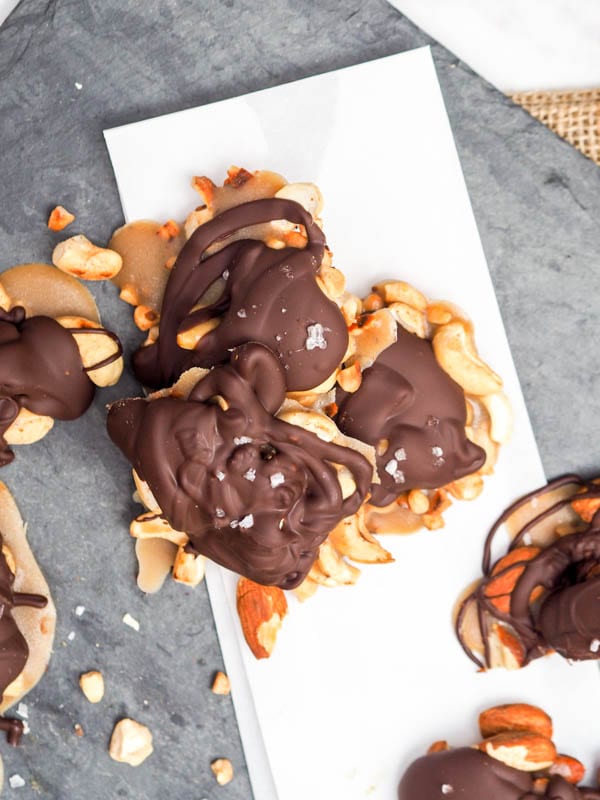
You chocolate turtles are almost complete. One last optional step. A light sprinkling of coarse sea salt on each chocolate turtle. This is entirely optional or completely mandatory if you’re me and need a bit of salt with everything you consume.
Salt + sweet = my favorite kind of dessert.
No joke these vegan caramel chocolate turtles are my new favorite dessert.
Normally I am not a dessert person at all. Dessert never tempts me and I can have cheesecake, brownies, cookies, chocolate, scattered all over the kitchen counters, fridge, cabinets, without every getting a single craving, but when these chocolate turtles are in the freezer I feel myself gravitating towards that part of the kitchen.
When these are in the house I need to eat at least 2 of these a day. And that’s saying a lot for me.
That’s how I know these chocolate turtles are truly epic.
Make these to impress your dinner guests or just to treat yourself to a healthier yet quick and delicious chocolate treat.
Some of my other favorite dessert recipes:
- Almond Chocolate Nut Clusters {GF}
- Honey Chocolate Cashew Truffles {GF, DF}
- Vegan Peach Coconut Almond Clusters {GF}
- Caramelized Vegan Plantain Recipe {GF}
How to make vegan caramel chocolate turtles
- 1/4 cup maple syrup
- 1/4 cup coconut oil
- 2 tablespoons sunflower seed butter
- 1 cup vegan chocolate chips
- 3/4 cup toasted almonds crushed (or pecans)
- 3/4 cup toasted cashews crushed (or pecans)
- 1/4 - 1/2 teaspoon coarse sea salt
-
In a small pot over medium heat, heat maple syrup and coconut oil.
-
Add sunflower seed butter. Bring to a boil, and mix for 1-2 minutes. Remove from heat.
-
Place nuts in small bundles or clusters on parchment lined baking sheet.
-
Pour the caramel sauce by the spoonful over the clusters, covering the nuts.
-
Freeze for 5-10 minutes.
-
Melt chocolate chips in a microwave safe bowl for 30-90 seconds, mixing every 30 seconds until melted.
-
Pour chocolate by the spoonful over the caramel nut turtles
-
Sprinkle each turtle with course sea salt.
-
Freeze for 10-30 minutes.
-
Store in the freezer.


Ali @ Home & Plate says
Wow…these look fantastic. Full of protein, sweet and delicious. I love that they are limited ingredients and easy to make. I must try this recipe soon. Yum.
Vicky says
Thanks so much! You’ll have to let me know what you think!
Christina | Christina's Cucina says
I just may have to make these for a vegan neighbor for Christmas! Thanks for the recipe! They look awesome!
Vicky says
You absolutely must! They’ll love it!
Platter Talk says
I agree with Christina. This is a good vegan treat to have around for the holiday for vegan friends. Thanks.
Vicky says
Definitely perfect for vegan friends and even the non vegans will never know the difference!
Veena says
Such a good treat for my vegan fans. Pinned it – Thanks so much. Looks so delish!
Vicky says
Thanks! Vegans will love this!
Elaine @ Dishes Delish says
Yum, I love turtles. These look fabulous!!
Vicky says
Thanks! They are now my favorite dessert!
tina says
Fantastic! These look yummy, Thanks for the recipe;)
Vicky says
Thanks so much!
Jen says
I am allergic to coconut, can I use butter instead?
Vicky says
Yes I am sure butter or a different type of oil would work here as well.
Lora says
I made these twice and they are fantastic!
Thanks for the recipe!
Vicky says
Yay! SO happy to hear that Lora! Thanks for taking the time to comment and let me know what you thought!
Jeanne says
I just made these and they are yummy! I didn’t have sunflower seed butter, so I substituted Adams peanut butter.
Vicky says
Yay so glad you enjoyed them Jeanne!Thanks for taking the time to comment and let me know! I am sure the peanut butter worked well too : )
Mary says
Excited to make this.
Laura says
Can I just use regular chips in here and how many per serving?
Laura says
Can I just use regular chips in here instead and how ,many pieces per serving?
Vicky says
Yes you can use regular chocolate chips here too. One batch of the recipe makes about 18 turtles, so I would say a serving would be 3 turtles.
Maria says
These look like they’d make great gifts for the holidays!
Vicky says
For sure!
Toni | Boulder Locavore says
These are such an amazing treat!!
Vicky says
Thanks!!
Melodee says
I just made these. Easy and delicious! I was lazy and did not toast the nuts but just left them raw. Also, for my next batch I plan to use cupcake papers (large and small for different appetites) to keep everything from spreading out so much. Thank you for sharing the recipe. I am keeping this one for a regular holiday treat.
Vicky says
THanks! Good idea to use cupcake liners to keep everything from spreading out!